SkeyeARS 全景AR增强监视系统实现高低点摄像机关联显示(二)

文章目录
1、写在前面
之前,我们已经知道 SkeyeARS 中怎么做到高低点摄像机关联显示了。
现在来看看具体的实现细节。
2、正文开始
首先,我们已经知道相机是批量的。
简单来说,需要使用一个 Model 将相机数据包装起来。
当然,为了后面能够被合并,还要给数据加一些特殊的标志。
所以,我这里给每一个 table对象 添加 channel 数组,然后它的里面存储 合并后的相机数据:
Item {
    id: root

    property var model: []

    onModelChanged: {
        let table = {}
        for (let i = 0; i < model.length; i++) {
            let channel = model[i].channel;
            if (!table.hasOwnProperty(channel)) {
                table[channel] = [];
            }
            table[channel].push(model[i]);
        }

        let result = [];
        let keys = Object.keys(table);
        for (let j = 0; j < keys.length; j++) {
            result[j] = table[keys[j]];
        }

        correlationCameraView.model = result;
    }

    Repeater {
        id: correlationCameraView
        ......
    }
}
现在 correlationCameraView.model 已经是 合并后的相机数据了。
那么接下来我们只需要正确展示出来即可:
- 这里我选择使用
Repeater,因为比较方便。 SkeyeARS中的圆形小弹窗实质为Popup,也就是说,未合并的相机会被实例化为多个Popup。
    Repeater {
        id: correlationCameraView
        anchors.fill: parent
        delegate: Item {
            ....
            Popup {
                id: expandRect
            }
        }
}- 然后对于合并的相机,即最开始的
channel 数组,我们再次使用一个Repeater即可。 - 接上面的
Popup:
    ......
    Popup {
        id: expandRect
        Repeater {
            id: repeater
            anchors.fill: parent
            model: modelData
            delegate: Item {
                id: rootItem
                width: 30
                height: width
                transform: Rotation {
                    angle: rootItem.angle
                    origin.x : repeater.width / 2
                    origin.y : repeater.height / 2
                }

                property real angle: (index * 360 / repeater.count) + 45
                ......
            }
        }
    }
    ......
最后,我们将 相机数据传入 root 即可:
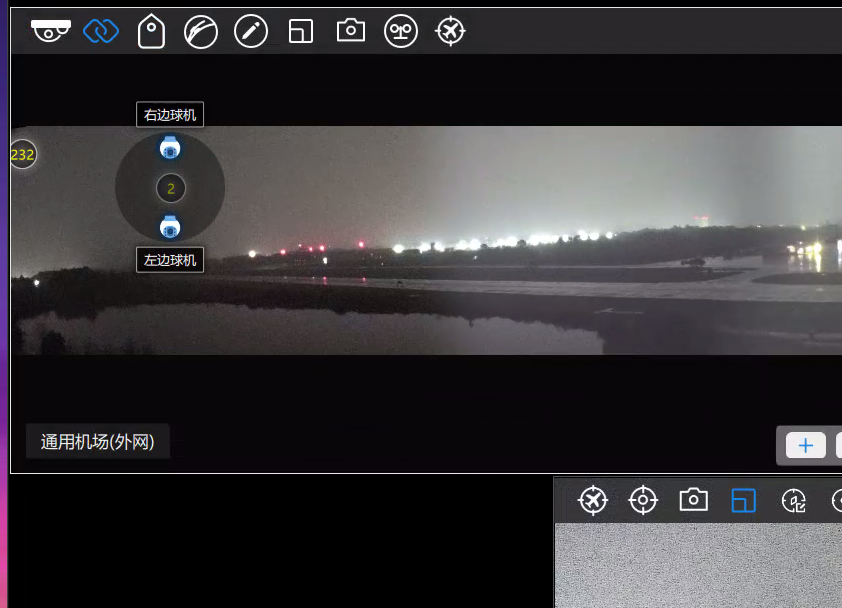
root.model = panoManager.currentPano.cameras;最终 SkeyeARS 中的效果就是这样:
评论
登录后参与技术讨论,分享你的经验与见解。
登录 / 注册暂无评论