Spring Boot学习一(父子项目、图标、配置文件)

文章目录
1、创建父子项目

1、需要在父项目pom.xml文件添加
    <packaging>pom</packaging>
2、需要在子项目中更改
        <groupId>org.springframework.boot</groupId>
        <artifactId>spring-boot-starter-parent</artifactId>
        <version>2.6.6</version>
        <relativePath/>
更改为父项目的
    <groupId>com.jc</groupId>
    <artifactId>springboot_parent</artifactId>
    <version>0.0.1-SNAPSHOT</version>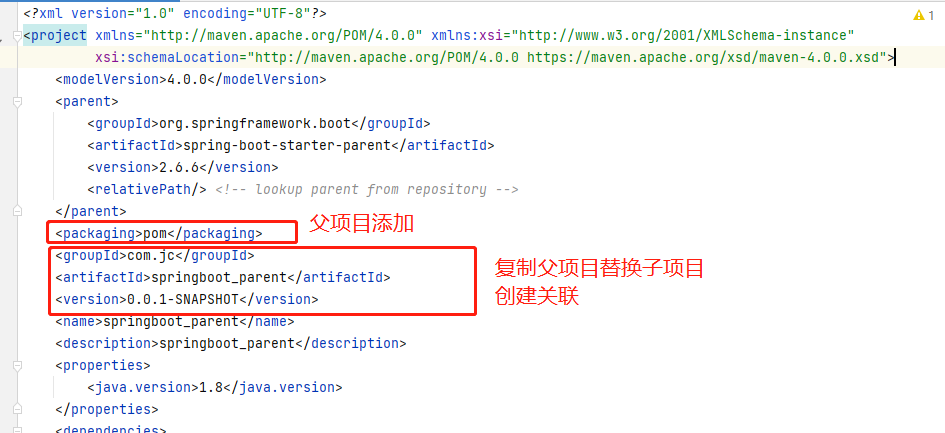
子项目中替换

2、spring boot图标替换
springboot图标生成器:https://www.bootschool.net/ascii
把banner.txt文件放在resources配置包下(会自动读取banner.txt)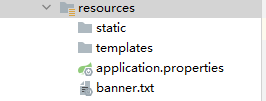
可以设置关闭图标SpringApplication启动类配置
@SpringBootApplication
public class Springboot01Application {

    public static void main(String[] args) {
        SpringApplication app = new SpringApplication(Springboot01Application.class);
//        app.setBannerMode(Banner.Mode.OFF);         //可以设置关闭springboot横幅
        app.run(args);
    }

}
3、配置文件
# 1、
application.properties    K/v结构
# 端口号
server.port=1313
# 前缀:localhost:1313/lll/hello
server.servlet.context-path=/lll

# 2、
application.yml            树形结构
server:
    prot: 1313

application.yaml
配置文件的加载顺序
优先读取,后读取的补充(父配置优先->子配置)
  <includes>
    <include>**/application*.yml</include>
    <include>**/application*.yaml</include>
    <include>**/application*.properties</include>
  </includes>
4、多个profile文件
Spring官网语法:application-xxx.properties(.yaml/yml)spring.profiles.active=dev
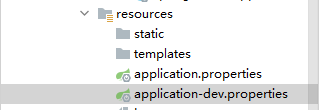
不要混合使用配置文件(yml、yaml、properties),坚持只是用其中之一。
评论
登录后参与技术讨论,分享你的经验与见解。
登录 / 注册暂无评论