服务器配置gitlab-runner流程问题总结

文章目录
目的:摆脱Jenkins部署;如果前端有自己的服务器环境;可以借助gitlab-runner实现CI自动部署并且发送结果通知消息
1. 服务器安装gitlab-runner
先确认服务器环境信息之后找到对应的gitlab-runner安装包- 使用
uname -a查看服务器版本信息
- 在此处找到符合自己版本信息的安装包
使用安装包安装
gitlab-runner程序;如果提示sudo: curl:找不到命令, 则使用yum安装curl后重新安装程序yum update -y && yum install curl -y,(因为安装curl之前会先进行yum的update所以这个时间挺长的)sudo curl -L --output /usr/local/bin/gitlab-runner "https://gitlab-runner-downloads.s3.amazonaws.com/latest/binaries/gitlab-runner-linux-amd64"给定执行权限
sudo chmod +x /usr/local/bin/gitlab-runner创建一个用户
sudo useradd --comment 'GitLab Runner' --create-home gitlab-runner --shell /bin/bash安装运行服务
sudo gitlab-runner install --user=gitlab-runner --working-directory=/home/gitlab-runner
sudo gitlab-runner start
如果这一步也提示
sudo: gitlab-runner:找不到命令;需要# 修改/etc/sudoers文件;找到这一行 Defaults secure_path = /sbin:/bin:/usr/sbin:/usr/bin # 将要执行的命令所在的目录添加到后面,即可 Defaults secure_path = /sbin:/bin:/usr/sbin:/usr/bin:/usr/local/bin重新执行安装运行服务就可以继续了
- 验证安装信息
gitlab-runner -v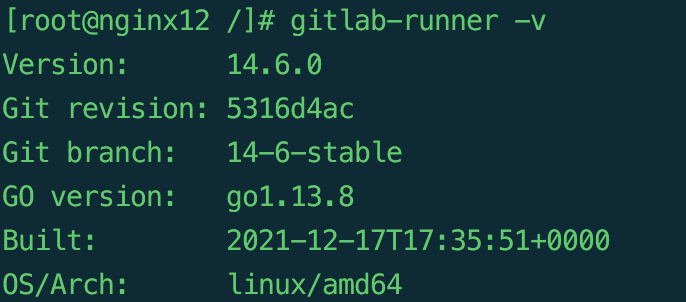
2. 配置注册Runner
- 在自己gitlab仓库找到对应的信息 > Settings -> CI/CD -> Runners -> Specific Runners

- 在服务器下执行注册命令
sudo gitlab-runner register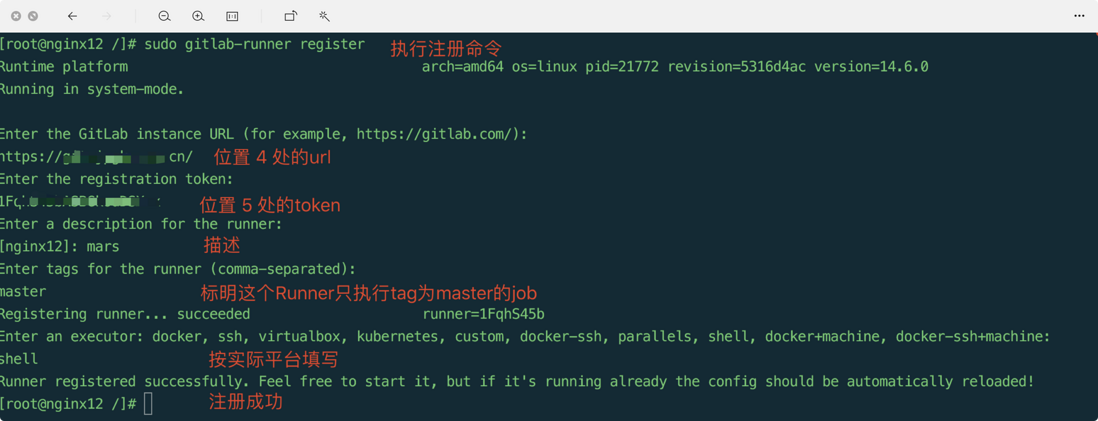
- 查看正在激活的Runner
gitlab-runner verify
- 也可以在
CI处看到已经被激活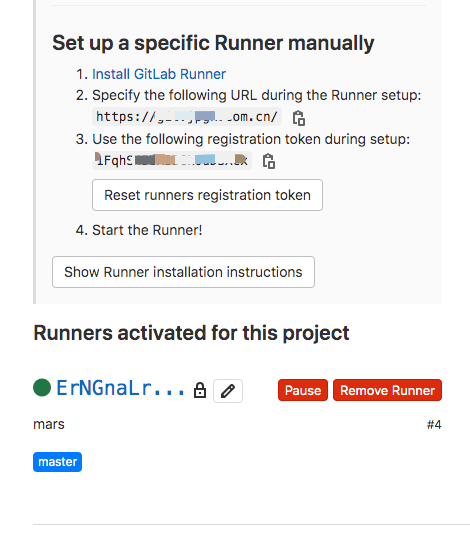
3. 编写yml配置文件
在自己项目的根路径下编写.gitlab-ci.yml脚本文件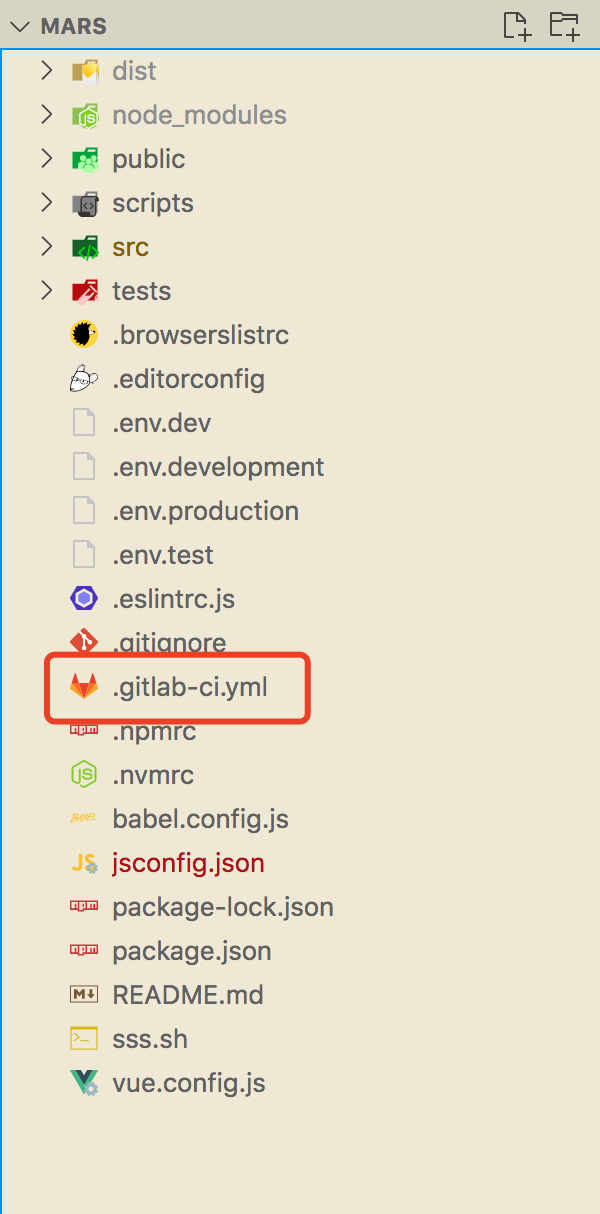
编写符合自己的程序
stages: # 分阶段
  - install
  - build
  - deploy
  - notify

cache: # 缓存内容
  paths:
    - node_modules/
    - dist/

install-job:
  tags: # 触发runner(这个就是注册的时候填写的tag)
    - master
  only: # 哪些分支触发
    - master
  stage: install # 当前阶段
  script:
    - echo '安装依赖阶段....'
    - npm install

build-job:
  tags:
    - master
  only:
    - master
  stage: build
  script:
    - npm run build:dev

deploy-job:
  tags:
    - master
  only:
    - master
  stage: deploy
  script:
    - whoami
    - sudo scp -r ./dist/* /www/html/kangshifu/kangshifu-vue/mars/dist


# 构建成功时的通知消息
notifySuccessWeChat:
  stage: notify
  script:
    - echo $title $sucContent
    - curl 'http://pushplus.hxtrip.com/send' -H 'Content-Type:application/json' -d "{\"token\":\"130a550e3a6d4dd2a019a98a5c022900\",\"title\":\"康师傅_前端_智云系统-部署结果(ci)\",\"content\":\"成功\",\"template\":\"html\",\"topic\":\"kangshifuFeZhiyun\"}"
  only:
    - master
  tags:
    - master
  when: on_success

# 构建失败时的通知消息
notifyFailWeChat:
  stage: notify
  script:
    - curl 'http://pushplus.hxtrip.com/send' -H 'Content-Type:application/json' -d "{\"token\":\"130a550e3a6d4dd2a019a98a5c022900\",\"title\":\"康师傅_前端_智云系统-部署结果(ci)\",\"content\":\"失败\",\"template\":\"html\",\"topic\":\"kangshifuFeZhiyun\"}"
  only:
    - master
  tags:
    - master
when: on_failure 此脚本中包含了部署结果的通知;具体配置方式可以查看对应的文档进行配置,也可以使用钉钉消息或者企业微信消息等方式
此处可能遇到的问题
git版本问题
报错:
Getting source from Git repository
00:01
Fetching changes with git depth set to 50...
Reinitialized existing Git repository in /home/gitlab-runner/builds/ErNGnaLr/0/ivm/mars/.git/
fatal: git fetch-pack: expected shallow list
fatal: The remote end hung up unexpectedly
Cleaning up project directory and file based variables
00:00
ERROR: Job failed: exit status 1

原因:
centos7 基础仓库,提供的 git 版本只有到 1.8.3,沒办法使用 git 2 的一些新功能

解决方法:
安装最新版本的git就可以了
拷贝文件问题
因为没有使用sshpass的方式操作文件;当前使用的scp进行文件的操作;可能会提示报错: We trust you have received the usual lecture from the local System Administrator. It usually boils down to these three things: #1) Respect the privacy of others. #2) Think before you type. #3) With great power comes great responsibility. sudo: no tty present and no askpass program specified Cleaning up project directory and file based variables 00:00 ERROR: Job failed: exit status 1 原因: 由于尝试使用sudo运行命令引起的 ,但是调用用户没有被授权使用 sudo 解决: 打开 sudoers 文件`vim /etc/sudoers` ;将以下内容添加到文件底部 gitlab-runner ALL=(ALL) NOPASSWD: ALL
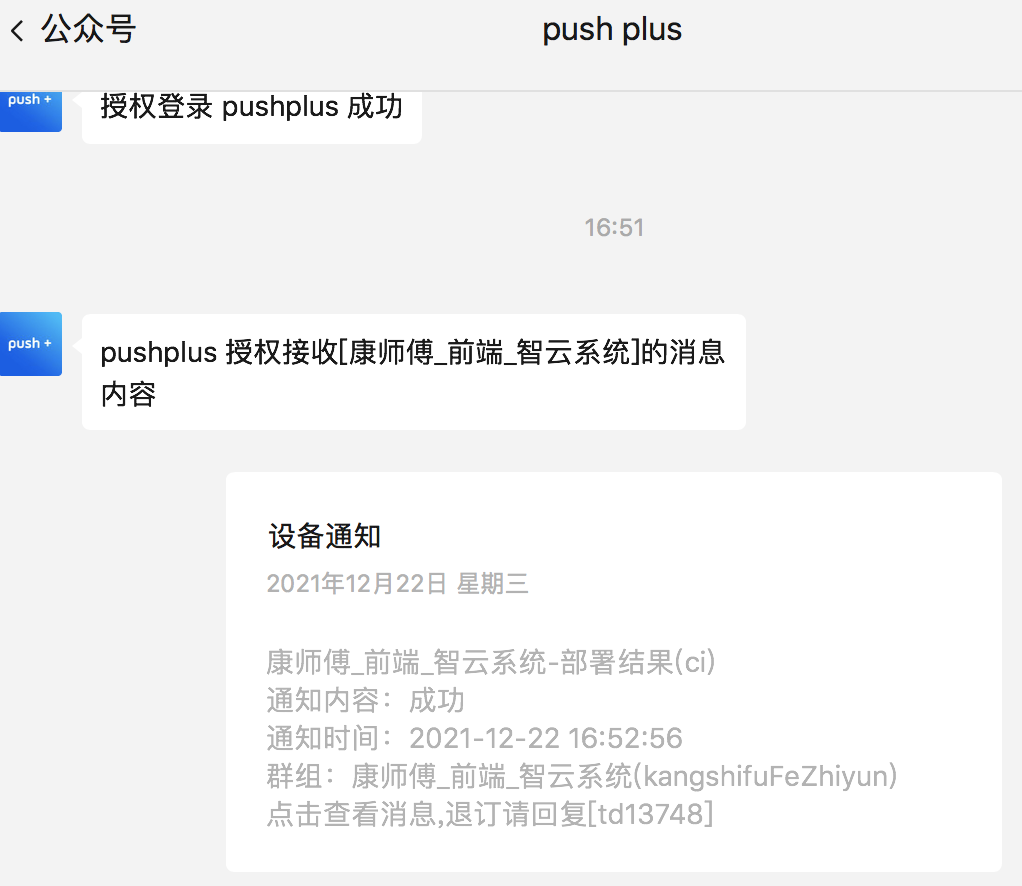
至此gitlab-runner已经可以成功的运行了「手动撒花🎉」 ;也能收到部署结果的推送消息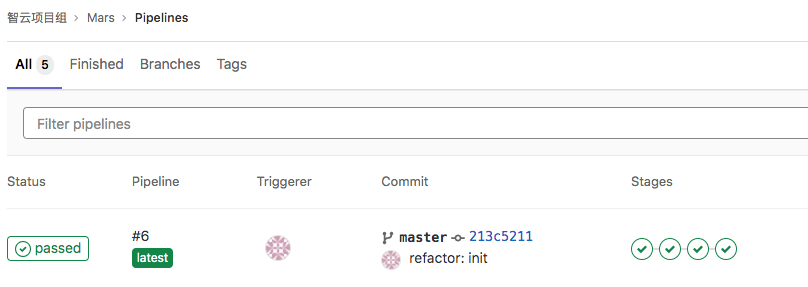
评论
登录后参与技术讨论,分享你的经验与见解。
登录 / 注册暂无评论