前言
Gitalk 非常好用,但是一直有个问题困扰着我,评论不能自动初始化。我在网上看了一些文章,都是Hexo这个博客框架,然后什么sitemap,网站文件地图,看的我云里雾里。
前几天突然灵光一闪,我其实只需要把 Gitalk 自身自带的初始化评论功能,在我的项目里复刻一遍就可以了,为啥还想的这么复杂。
环境
node: 18.16.0
Gitalk: 1.7.2
方案
读取本地所有 md 文件 -> 解析内容提取 title -> 获取 issue -> 没有 issue -> 新建 issue
实现
读取本地 md 文件
用正则更好,只是我不太会。
// 获取md文件路径
const getMdFilesPath = (path, fileArr = []) => {
  const files = fs.readdirSync(path);
  files.forEach((file) => {
    const filePath = `${path}/${file}`;
    stat = fs.statSync(filePath);
    // 判断是文件还是文件夹,如果是文件夹继续递归
    if (stat.isDirectory()) {
      fileArr.concat(getMdFilesPath(filePath, fileArr));
    } else {
      fileArr.push(filePath);
    }
  });
  return fileArr.filter((i) => i.split(".").pop() === "md");
};
解析本地 md 文件
这里我用的marked这个包,可以把md语法解析成html语法,我再通过截取<h1>标签内的文字,作为这篇文章的标题存起来。
// 获取md文件标题
const getMdFileTitle = (path, fn) => {
const fileContent = marked.marked(fs.readFileSync(path, "utf-8")).toString();
const startIndex =
fileContent.indexOf("<h1>") === -1 ? 0 : fileContent.indexOf("<h1>") + 4;
const endIndex =
fileContent.indexOf("</h1>") === -1 ? 0 : fileContent.indexOf("</h1>");
const title = fileContent.substring(startIndex, endIndex);
return title;
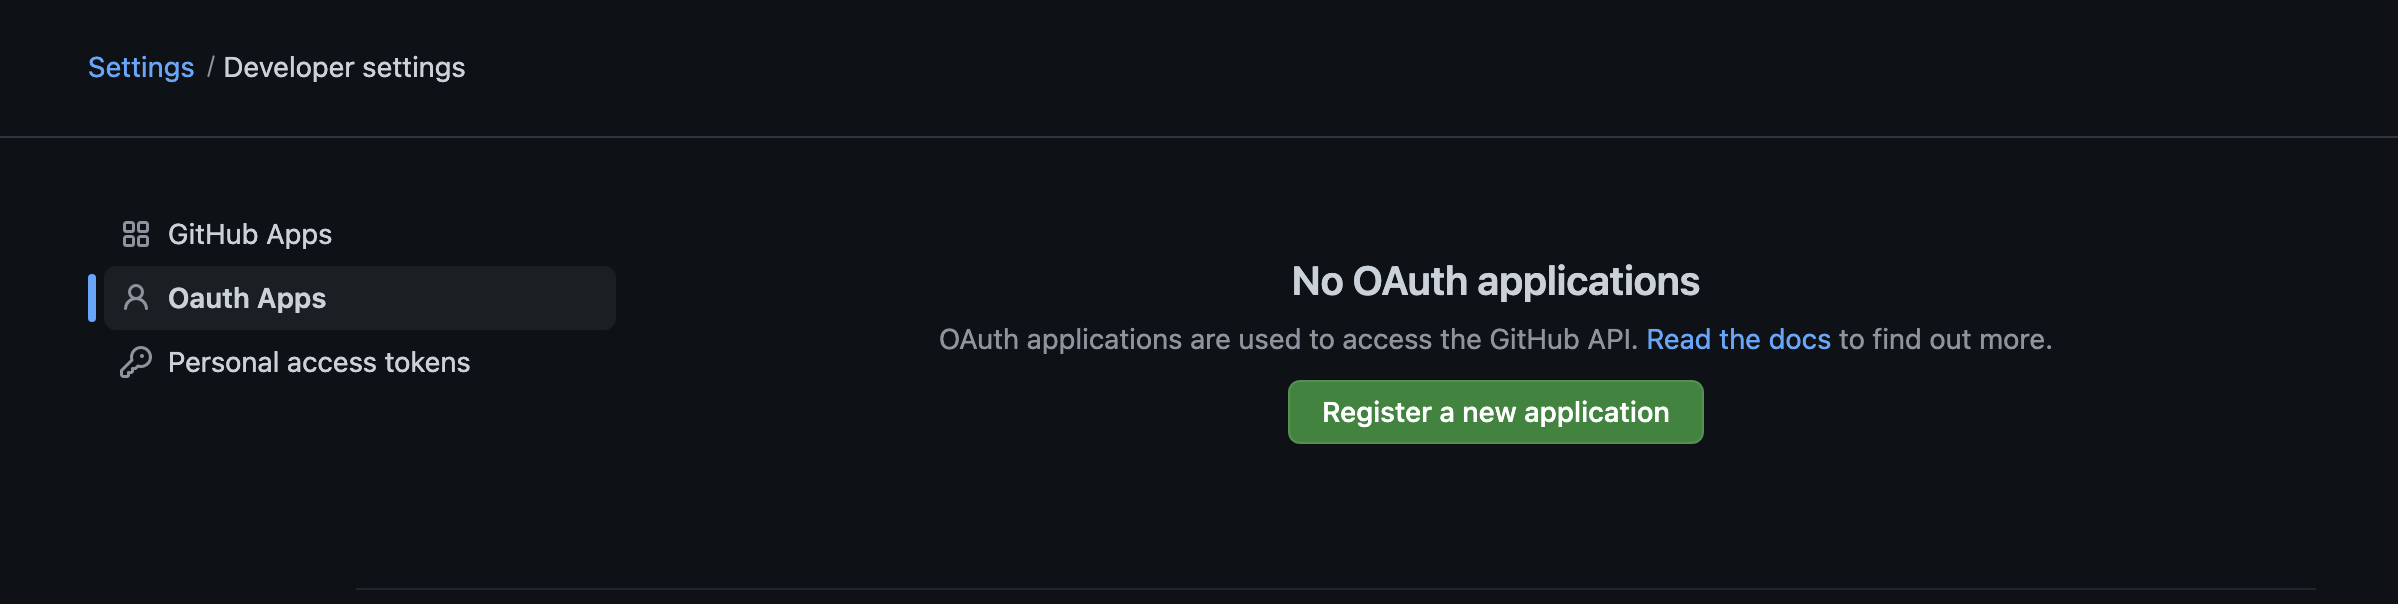
};获取 Github 授权
Github在 2022 年就禁止了账号密码直接登录,所以要通过Oath2来实现授权获取。
我这使用的最简单的方法,直接调起浏览器打开Github授权页面,手动进行授权,拿到code后再关闭授权回调页面,毕竟实现无感授权需要的时间有点多。
我是用open这个包来打开授权网址,这个包很简单,就是适配了不同系统下的打开网址命令。
发起请求我用的axios这个包,中国人民的老朋友了。
当你网页点击授权以后,Github会回调一个地址,我这边使用的是koa来接受这个回调带来的code值,然后再发起获取token的请求。
// 打开网址
const openUrl = async (param = new ParamGithub()) => {
  const { clientID } = param;
  const domain = "https://github.com/login/oauth/authorize";
  const query = {
    client_id: clientID,
    redirect_uri: `http://localhost:${port}/`, // 回调地址
    scope: "public_repo", // 用户组
  };
  const url = `${domain}?${Object.keys(query)
    .map((key) => `${key}=${query[key]}`)
    .join("&")}`;
  await open(url);
};

// 监听code获取
const startupKoa = () => {
  const app = new Koa();
  // 启动服务,监听端口
  const _server = app.listen(port);
  openUrl();
  app.use((ctx) => {
    const urlArr = ctx.originalUrl.split("=");
    if (urlArr[0].indexOf("code") > -1) {
      accessCode = urlArr[1];
      createIssues();
      configMap.set("accessCode", accessCode);
      writeConfigFile();
      _server.close();
    }
    // 拿到code后关闭回调页面
    ctx.response.body = `<script>
      (function () {
        window.close()
      })(this)
    </script>`
  });
};

// 获取token
const getAccessToken = (param = new ParamGithub()) => {
  const { clientID, clientSecret } = param;
  return axiosGithub
    .post("/login/oauth/access_token", {
      code: accessCode,
      client_id: clientID,
      client_secret: clientSecret,
    })
    .then((res) => {
      return Promise.resolve(
        res.data.error === "bad_verification_code"
          ? null
          : res.data.access_token
      );
    })
    .catch((err) => {
      appendErrorFile("获取token", err.response.data.message);
    });
};
创建 issue
授权拿到手以后,就要发起查询issue和创建issue的请求了。
这一部分没什么好说的,直接给大家看怎么调用,到这一步基本就算完成了。
// 获取issues
const getIssues = (param) => {
  const { owner, repo, clientID, clientSecret, labels, title } = param || {};
  axiosApiGithub
    .get(`/repos/${owner}/${repo}/issues`, {
      auth: {
        username: clientID,
        password: clientSecret,
      },
      params: {
        labels: labels
          .concat(title)
          .map((label) => (typeof label === "string" ? label : label.name))
          .join(","),
        t: Date.now(),
      },
    })
    .then((res) => {
      if (!(res && res.data && res.data.length)) {
        createIssue(param);
      }
    })
    .catch((err) => {
      console.log(err);
      appendErrorFile("获取issues", err?.response?.data?.message || "网络问题");
    });
};

// 创建issues
const createIssue = (param) => {
  const { owner, repo, labels, title } = param || {};
  axiosApiGithub
    .post(
      `/repos/${owner}/${repo}/issues`,
      {
        title: `${title} | 天秤的异端`,
        labels: labels.concat(title).map((label) =>
          typeof label === "string"
            ? {
                name: label,
              }
            : label
        ),
        body: "我的博客 https://libraheresy.github.io/libraheresy-blog",
      },
      {
        headers: {
          authorization: `Bearer ${accessToken}`,
        },
      }
    )
    .then(() => {
      console.log(`创建成功:${title}`);
    })
    .catch((err) => {
      appendErrorFile("创建issues", err.response.data.message);
      if (
        ["Not Found", "Bad credentials"].includes(err.response.data.message)
      ) {
        getAccessToken();
      }
    });
};
修改 package.json
加一个脚本命令不是美滋滋。
"scripts": {
  "init:comment": "node ./utils/auto-create-blog-issues.js"
},
问题
获取 token 后,请求创建 issue,报 404
这里的404并不是找不到请求资源的意思,这里的404其实指的是你没有权限操作。这给我一顿好想,在翻看Gitalk源码的时候才发现打开授权页面时需要指明用户组,不然给你的就是最低权限,啥用没有。
const query = {
  client_id: clientID,
  redirect_uri: `http://localhost:${port}/`, // 回调地址
  scope: "public_repo", // 用户组
};
代码
const fs = require('fs') // 操作文件
const path = require('path') // 获取路径
const marked = require('marked') // 解析md文件
const axios = require('axios') // 请求
const Koa = require('koa') // 本地服务
const open = require('open') // 打开网址
const moment = require('moment') // 日期

// Github配置参数
class ParamGithub {
  title = ''
  owner = "LibraHeresy" // GitHub repository 所有者
  repo = "libraheresy-blog" // GitHub repository
  clientID = "87071bc8d1c9295cc650" // 自己的clientID
  clientSecret = "c831d96750a203e63abe55d13426e824b2b2aaef" // 自己的clientSecret
  admin = ["LibraHeresy"] // GitHub repository 所有者
  labels = ["Gitalk"] // GitHub issue 的标签

  constructor(title) {
    this.title = title
  }
}

const writeConfigFile = () => {
  fs.writeFileSync(path.join(__dirname, './config.txt'), Array.from(configMap).map(arr => arr.join('=')).join(';'))
}

const appendErrorFile = (opera, message) => {
  const filePath = path.join(__dirname, './error.txt')
  if(!fs.existsSync(filePath)) fs.writeFileSync(filePath, '')
  const time = moment().format('YYYY-MM-DD hh:mm:ss')
  fs.appendFileSync(path.join(__dirname, './error.txt'), `${opera}报错 ${time})}\n ${message}\n`)
  console.log(`${opera}报错`, time)
}

// 本地配置
let config = ''
let configMap = new Map()
if(!fs.existsSync(path.join(__dirname, './config.txt'))) {
  writeConfigFile()
}
config = fs.readFileSync(path.join(__dirname, './config.txt'), 'utf-8')
configMap = new Map(config.split(';').map(text => text.split('=')))
let accessCode = configMap.get('accessCode') || ''
let accessToken = configMap.get('accessToken') || ''
let port = 3000

const axiosGithub = axios.create({
  baseURL: 'https://github.com',
  headers: {
    'accept': 'application/json'
  }
})
const axiosApiGithub = axios.create({
  baseURL: 'https://api.github.com',
  headers: {
    'accept': 'application/json',
  }
})

// 规避控制台警告
marked.setOptions({
  mangle: false,
  headerIds: false,
})

// 获取md文件路径
const getMdFilesPath = (path, fileArr = []) => {
  const files = fs.readdirSync(path)
  files.forEach((file) => {
    const filePath = `${path}/${file}`
    stat = fs.statSync(filePath)
    if (stat.isDirectory()) {
      fileArr.concat(getMdFilesPath(filePath, fileArr))
    } else {
      fileArr.push(filePath)
    }
  })
  return fileArr.filter(i => i.split('.').pop() === 'md')
}

// 获取md文件标题
const getMdFileTitle = (path, fn) => {
  const fileContent = (marked.marked(fs.readFileSync(path, 'utf-8'))).toString()
  const startIndex = fileContent.indexOf('<h1>') === -1 ? 0 : fileContent.indexOf('<h1>') + 4
  const endIndex = fileContent.indexOf('</h1>') === -1 ? 0 : fileContent.indexOf('</h1>')
  const title = fileContent.substring(startIndex, endIndex)
  return title
}

// 打开网址
const openUrl = async (param = new ParamGithub()) => {
  const {
    clientID
  } = param
  const domain = 'https://github.com/login/oauth/authorize'
  const query = {
    client_id: clientID,
    redirect_uri: `http://localhost:${port}/`, // 回调地址
    scope: 'public_repo', // 用户组
  }
  const url = `${domain}?${Object.keys(query).map(key => `${key}=${query[key]}`).join('&')}`
  await open(url)
}

// 监听code获取
const startupKoa = () => {
  const app = new Koa()
  const _server = app.listen(port)
  openUrl()
  app.use(ctx => {
    const urlArr = ctx.originalUrl.split("=")
    if (urlArr[0].indexOf("code") > -1) {
      accessCode = urlArr[1]
      createIssues()
      configMap.set('accessCode', accessCode)
      writeConfigFile()
      _server.close()
    }
    // 拿到code后关闭回调页面
    ctx.response.body = `<script>
      (function () {
        window.close()
      })(this)
    </script>`
  })
}

// 获取token
const getAccessToken = (param = new ParamGithub()) => {
  const {
    clientID,
    clientSecret
  } = param
  return axiosGithub
    .post('/login/oauth/access_token', {
      code: accessCode,
      client_id: clientID,
      client_secret: clientSecret
    }).then(res => {
      return Promise.resolve(res.data.error === 'bad_verification_code' ? null : res.data.access_token)
    }).catch(err => {
      appendErrorFile('获取token', err.response.data.message)
    })
}

// 获取授权
const getAuth = () => {
  return getAccessToken()
    .then(res => {
      configMap.set('accessToken', res)
      writeConfigFile()
      return res
    })
}

// 批量创建issue
const createIssues = async () => {
  if (accessCode) {
    const token = await getAuth()
    if(token) {
      accessToken = token;
      mdFileTitleArr.forEach(title => {
        getIssues(new ParamGithub(title))
      })
    } else {
      accessCode  = ''
      createIssues()
    }
  } else {
    startupKoa()
  }
}

// 获取issues
const getIssues = (param) => {
  const {
    owner,
    repo,
    clientID,
    clientSecret,
    labels,
    title
  } = param || {}
  axiosApiGithub
    .get(`/repos/${owner}/${repo}/issues`, {
      auth: {
        username: clientID,
        password: clientSecret
      },
      params: {
        labels: labels.concat(title).map(label => typeof label === 'string' ? label : label.name).join(','),
        t: Date.now()
      }
    }).then((res) => {
      if (!(res && res.data && res.data.length)) {
        createIssue(param);
      }
    }).catch(err => {
      console.log(err)
      appendErrorFile('获取issues', err?.response?.data?.message || '网络问题')
    });
}

// 创建issues
const createIssue = (param) => {
  const {
    owner,
    repo,
    labels,
    title
  } = param || {}
  axiosApiGithub
    .post(`/repos/${owner}/${repo}/issues`, {
      title: `${title} | 天秤的异端`,
      labels: labels.concat(title).map(label => typeof label === 'string' ? {
        name: label
      } : label),
      body: '我的博客 https://libraheresy.github.io/libraheresy-blog'
    }, {
      headers: {
        authorization: `Bearer ${accessToken}`
      }
    }).then(() => {
      console.log(`创建成功:${title}`)
    }).catch((err) => {
      appendErrorFile('创建issues', err.response.data.message)
      if(['Not Found', 'Bad credentials'].includes(err.response.data.message)) {
        getAccessToken()
      }
    });
}

// 读取本地文件
const mdFilePathArr = getMdFilesPath(path.join(__dirname, '../docs'))
const mdFileTitleArr = mdFilePathArr.map(path => getMdFileTitle(path)).filter(i => i)

// 调用授权函数
createIssues()