
1.引用需要的组件
这里用到_AppRegistry,StyleSheet,Text,View_
import React, { Component } from 'react';
import {
  AppRegistry,//JS运行所有React Native应用的入口,必须引用
  StyleSheet,//样式
  Text,//文本框
  View,//视图
} from 'react-native';
2.所有的标签都必须包含在
3.
- numberOfLines 文本行数限制,添加后超过限制行数文本会在末尾默认以...的形式省略。
- ellipsizeMode 设置文本缩略格式,配合numberOfLines使用.
- onPress 点击事件
- style 样式
4.style样式的创建。
可以直接在Text标签内写样式 style={{}}
<Text numberOfLines={1} style={{color:'blue'}}> 121212121212121212121212
也可以类似网页里写样式文件一样,用StyleSheet.create({ })创建自定义的style样式.
例:创建mystyle1和mystyle2样式
const styles = StyleSheet.create({
   mystyle1: {
      color:'red',//颜色
    fontSize: 10,//字号
    textAlign: 'center',//居中

  },
  mystyle2:{
      fontSize:35,//字号
      fontWeight:'bold',//粗细
      textAlign:'center',//居中
      fontStyle:'italic',//斜体
      color:'blue',//颜色
      textDecorationLine:'underline'//下划线
  }
});
5.自定义样式的引用。
属性的引用方式为 属性name={属性值}。
例
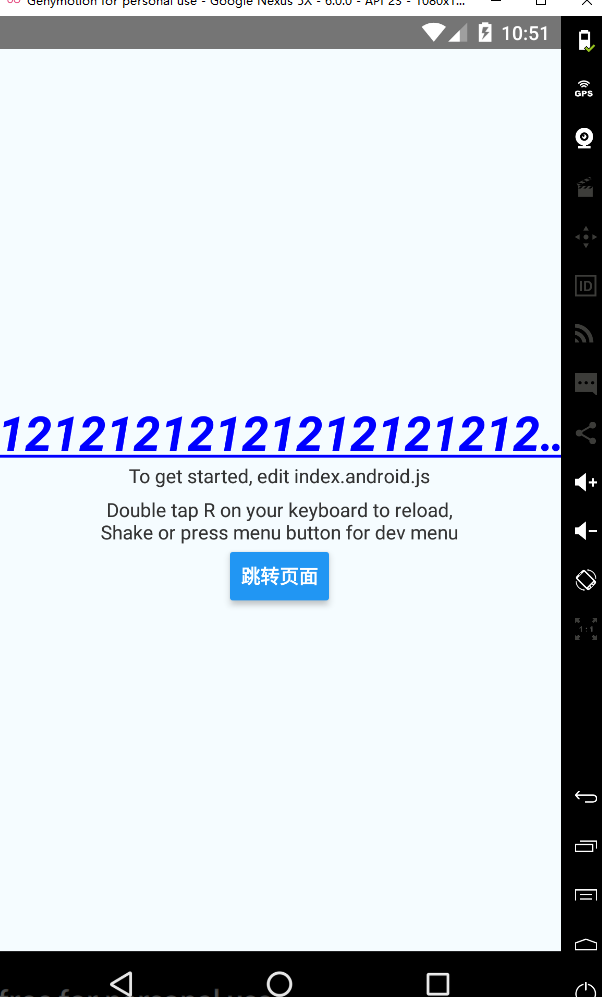
 <View style={styles.container}>
        <Text numberOfLines={1}    style={styles.mystyle2}>
            121212121212121212121212
        </Text>
</View>
运行结果:(可以看到行数限制和mystyle2样式都已经生效)
6.关于样式的继承。
解释:字体样式的继承,即将Text嵌套于其他Text时,内部的 Text 组件可以继承外部 Text 组件的样式。
先上总体结论:
Text标签互相嵌套时:
1.自身无样式,则可继承外部Text样式。
2.自身样式和外部Text样式冲突,自身样式优先级最高,覆盖其他冲突样式。
3.自身样式和外部Text样式存在部分冲突,则冲突的样式自身优先级最高覆盖外部Text样式,其他不冲突的样式可实现继承样式。
实例1:
《1》内部的
//外部的样式设置为蓝色,内部的Text不写样式
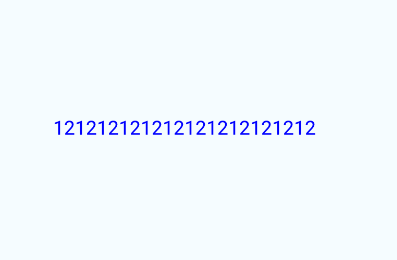
<Text numberOfLines={1} style={{color:'blue'}}>
<Text>
121212121212121212121212
</Text>
</Text>
运行结果(外部的蓝色设置生效。):
《2》内部的
//内部设置样式颜色为红色,和外部Text样式冲突
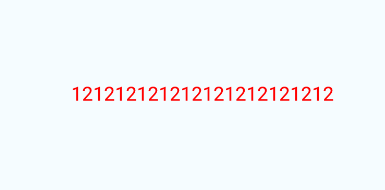
<Text numberOfLines={1} style={{color:'blue'}}>
<Text style={{color:'red'}}>
121212121212121212121212
</Text>
</Text>
运行结果(冲突时,内部的红色生效):
《3》内部的
//内部设置样式颜色为红色,和外部Text样式蓝色冲突,但是外部样式多了一个下划线
 <Text numberOfLines={1}    style={{color:'blue',textDecorationLine:'underline'}}>
        <Text style={{color:'red'}}>
             121212121212121212121212
        </Text>
  </Text>
运行结果(冲突的部分内部样式覆盖外部样式,即自身样式覆盖其他样式,自身样式权重最大优先级最高。内部不存在的样式,会继承外部的样式,如示例中的下划线):

7.样式先后顺序的影响。
在同一个Text内写两个(多个)样式对象,或者引用两个(多个)样式时,后引用的覆盖先引用的。
示例:
同时引用两个样式style={{样式1},{样式2}}先设置样式蓝色,后设置红色:
     <View style={styles.container}>
        <Text numberOfLines={1}
         style={{color:'blue',textDecorationLine:'underline'},{color:'red'}}>
             测试引用两个不同的样式
        </Text>
      </View>

后写的红色生效,并且没有样式1中的下划线。反过来把红色放前边,则蓝色生效。
结论:当两个(多个)样式引用时,后边的会覆盖前边的,而且是直接覆盖,跟样式继承的区别是即使不冲突的属性也会被覆盖。
附上源码
/**
 * Sample React Native App
 * https://github.com/facebook/react-native
 * @flow
 */

import React, { Component } from 'react';
import {
  AppRegistry,
  StyleSheet,
  Text,
  View,
  Button,
  Alert
} from 'react-native';
//引入navbar

export default class MyFirstDemo extends Component {
  render() {

    return (
      <View style={styles.container}>
        <Text numberOfLines={1}    style={styles.mystyle2}>
             121212121212121212121212
            <Text  style={styles.style1}>
             1231231111
            </Text>
            <Text >
             123123aaaa
            </Text>
        </Text>
        <Text style={styles.instructions}>
          To get started, edit index.android.js
        </Text>
        <Text style={styles.instructions}>
          Double tap R on your keyboard to reload,{'\n'}
          Shake or press menu button for dev menu
        </Text>
        <Button title="跳转页面" onPress={onButtonPress} >

        </Button>
      </View>
    );
  }
}

const styles = StyleSheet.create({
  container: {
    flex: 1,
    justifyContent: 'center',
    alignItems: 'center',
    backgroundColor: '#F5FCFF',
  },
  mystyle1: {
      color:'red',
    fontSize: 10,
    textAlign: 'center',
    margin: 10,
  },
  mystyle2:{
      fontSize:35,
      fontWeight:'bold',
      textAlign:'center',
      fontStyle:'italic',
      color:'blue',
      textDecorationLine:'underline'
  },
  instructions: {
    textAlign: 'center',
    color: '#333333',
    marginBottom: 5,
  }

});
const onButtonPress=()=>{
  Alert.alert('Button has been pressed!');
}
AppRegistry.registerComponent('MyFirstDemo', () => MyFirstDemo);


